Gardening tools need a winter clean-up for long life and great performance. Neglect can lead to rust, corrosion, and dull blades. So, before the cold weather comes, clean and prepare them!
As the gardening season ends, it’s time to give your tools some care. Start by wiping dirt and debris from the surfaces – use a brush or damp cloth. Then, look for any damage or wear. This helps find repairs and stop further problems.
Clean nooks and crannies too – these often collect moisture and dirt. Use a stiff brush or an old toothbrush and warm soapy water. This prevents rust and fungal growth.
Oil metal parts after cleaning and drying. This makes a protective barrier. It keeps moisture away and ensures smooth operation in spring!
Why it is important to clean garden tools for winter
Clean garden tools are a must before wintertime! Neglecting this can be costly and cause inefficient work come spring. Let’s explore the importance of cleaning tools.
Winter brings moisture which can cause rust and corrosion. Cleaning tools removes any dirt or debris that could hide moisture. This keeps them dry and rust-free when stored away. Plus, it helps us check for any signs of wear or damage that need attention.
Cleaning is not just about rust – it also helps keep them effective. Remnants of plant material, soil, and chemicals can build up and make gardening tasks harder. Regular cleaning makes them sharp and ready to go in the spring.
Lubrication is important, too. After cleaning, apply a thin layer of oil or lubricant to metal parts. This prevents drying out and reduces friction when using them. Lubrication extends their lifespan and makes them easier to use.
Let me tell you a story. Once upon a time, a passionate gardener forgot to clean her tools before winter. When spring arrived, she tried to use her rusty shovel. It was unusable due to corrosion. She had to buy a new one. She learned her lesson: clean your garden tools before winter or face expenses and disappointment.
Cleaning garden tools before winter is a necessity. Give them care and attention so you don’t regret it come spring!
Gathering the necessary materials
Gather a large bucket or container to hold your cleaning solution and fit your tools. Plus, you’ll need a stiff brush or sponge to scrub off dirt and debris. Get some gentle soap or detergent to remove grime without damaging metal or plastic parts. You’ll also need sandpaper or a sharpening tool to sharpen any blades.
Invest in a rust inhibitor spray too. This will help prevent rust on your tools during storage, making them last longer and saving money.
Don’t wait. Gather the materials and give your garden tools some love before winter starts. When spring arrives, your tools will be ready for action! Let’s go!
Step 1: Remove excess dirt and debris from the tools
For long-lasting garden tools, removing dirt and debris is essential. Not doing this can cause rusting, dull blades, and bad performance. To get ready for winter, do the following:
- Tap the tool on a hard surface to loosen dirt and debris. This makes it easier to remove clumps of soil.
- Use a stiff brush or toothbrush to scrub away dirt from the surface of the tool. Go over crevices and hard-to-reach spots.
- Rinse the tool with water. Make sure to dry it completely – moisture can lead to rust.
Also, try using a mild detergent and water solution for cleaning. This can remove tough grime and disinfect the tools – especially if they have been in contact with plant diseases.
Pro Tip: After cleaning garden tools, put a thin layer of oil on metal parts like blades and hinges. This will prevent rusting in the winter. Your tools will stay in great shape for years!
Step 2: Clean the tools with soap and water
Cleaning garden tools is key to make them last and work well. Without this, rust, dirt, and plant diseases can build up. Here’s how to maintain your tools and protect your garden:
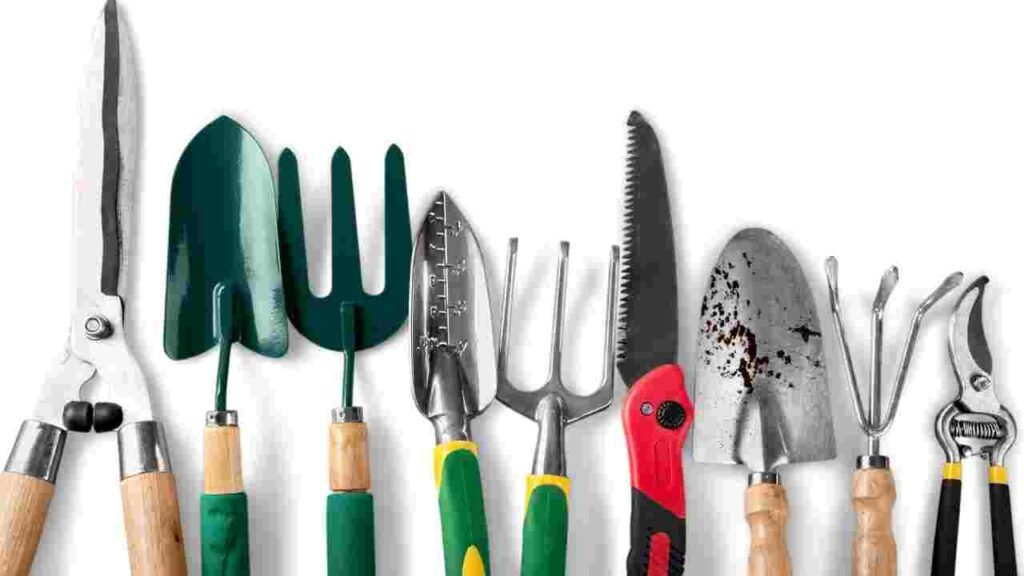
- Gather all your gardening tools: shovels, rakes, hoes, spades, and pruning shears.
- Fill a bucket or sink with warm water and add a mild dish soap or detergent.
- Submerge each tool in the soapy water. Use a brush or sponge to scrub off dirt and grime.
- Rinse each tool with clean water to get rid of soap residue. Dry them before storing or using.
Cleaning garden tools regularly gives you a vibrant and flourishing garden. Don’t miss out! Take action now and clean your tools correctly.
Step 3: Dry the tools thoroughly
Drying garden tools is a must for keeping them long-lasting and working perfectly. Here’s how to dry them before storing them away for winter:
- Use a clean towel to get rid of any water on the surface.
- Put the tools in a well-ventilated area and let them air-dry.
- Make sure all the tiny parts and hard-to-reach areas are dried out by using compressed air or a cloth.
- Any wooden pieces should be air-dried separately to prevent warping or cracking.
- Check if there is any remaining moisture; if so, dry it thoroughly before storing.
- Once you’re certain the tools are all completely dry, store them in a dry place to protect them from winter moisture.
Also, it’s important to note that drying your tools is more than simply removing visible water. Even the slightest bit of hidden moisture can corrode the tools over time. So make sure to pay close attention to this step.
To keep your garden tools in great condition, don’t forget to dry them properly. Doing this will stop damage and keep them in good shape for the future. Don’t forget proper maintenance – dry your garden tools!
Step 4: Apply a protective coating or oil to prevent rust
Ready to make sure your garden tools are rust-free this winter? Here’s what you need to do!
- Gather a clean cloth, a container, and a quality protective coating or oil specifically designed for tools.
- Clean off any dirt or debris with soap and warm water, then dry them off.
- Dip the cloth into the coating or oil and rub it onto the exposed metal surfaces of your tools.
- Reach into any crevices and let the coating dry completely before storing.
Regular maintenance will help extend the life of your tools too. Now you’re set to enjoy well-maintained tools when spring arrives!
Step 5: Store the tools in a dry and secure location for winter
Winter’s coming! Secure your garden tools. Here’s a 5-step guide:
- Clean ’em up. Remove dirt, mud, and debris with a brush or cloth. Rinse with water and mild soap if needed. Then dry.
- Oil metal bits. Use a rag or brush to coat blades and hinges. Wipe off excess.
- Sharpen edges. Pruners, loppers, and shears must be sharp. Use a file or sharpening stone. Follow the tool’s original angle.
- Organize and secure. Hang on hooks or place in racks or toolboxes. Keep them dry.
- Bonus tip: Lock them up with padlocks or other security measures.
Remember: Protecting your tools saves money and ensures they’re ready for spring. Did you know? Storing metal tools upside down in a bucket of sand mixed with oil helps prevent rust.
Conclusion
Conclusion: Proper maintenance is essential for garden tools. Follow the steps in this article to ensure optimal condition and readiness for spring. Neglecting to maintain tools can lead to rust, damage, and costly replacements.
Extra Details: Don’t forget to sharpen blades regularly and inspect handles for cracks or wear.
Final Reminder: Take action now to extend the life and effectiveness of your gardening tools. Store them properly after cleaning in a dry place, away from extreme temperatures. Do this to make spring a success in your garden sanctuary.
Frequently Asked Questions
Q: Why is it important to clean garden tools before winter?
A: Cleaning garden tools before winter is important to remove any dirt, debris, or plant matter that may be stuck on them. This helps prevent the spread of diseases and pests to your plants in the next growing season.
Q: How should I clean my garden tools for winter?
A: To clean garden tools for winter, start by removing any large clumps of dirt or debris using a brush or scraper. Then, wash the tools with warm soapy water, scrubbing with a stiff brush if necessary. Rinse the tools thoroughly and dry them well before storing.
Q: Can I use bleach to clean my garden tools?
A: Yes, you can use a diluted bleach solution to clean your garden tools. Mix 1 part bleach with 10 parts water and soak the tools for about 10 minutes. Rinse and dry them thoroughly before storing. This helps eliminate any potential diseases or pests on the tools.
Q: Should I oil my garden tools before winter storage?
A: Yes, it is a good idea to oil your garden tools before storing them for winter. Applying a thin coat of oil helps prevent rust and keeps the tools in good condition. Use a light machine oil or mineral oil and wipe it onto the metal parts of the tools.
Q: Where should I store my cleaned garden tools for winter?
A: Store your cleaned garden tools in a dry and sheltered area for winter. Ideally, hang them up or place them in a tool shed or garage. Avoid storing them directly on the ground to prevent moisture damage.
Q: How often should I clean my garden tools?
A: It is recommended to clean your garden tools at least once a season, if not more frequently. Regular cleaning helps maintain the tools’ effectiveness and prolongs their lifespan. Additionally, always clean them after use on diseased plants to prevent spreading diseases.
