Has your cooking ever taken an unexpected turn, leaving you with a daunting mess of melted plastic on your once-pristine stove top? We’ve all been there, and let me tell you, it could be a lot better. But fret not, my fellow culinary enthusiasts! I’ll unveil the secrets to tackling this sticky situation like a pro in this guide.
So, grab your cleaning supplies and bid farewell to that unsightly plastic residue because we’re about to embark on a journey to restore your stove top’s pristine glory. Let’s dive right in, shall we?
Assess the Situation:
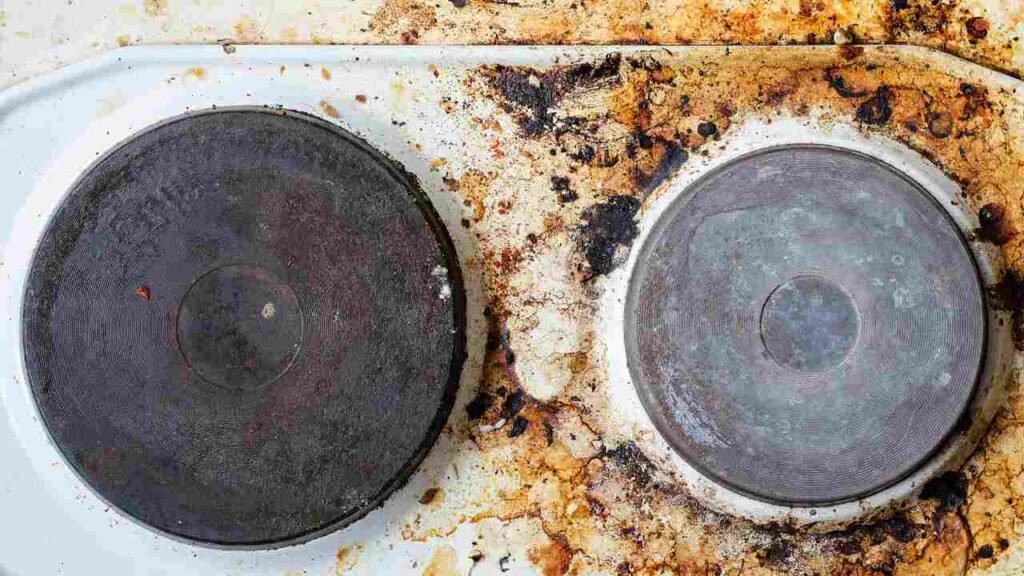
Before you roll up your sleeves and jump into the cleaning process, assessing the extent of the melted plastic on your stovetop is crucial. Take a closer look at the mess and determine whether it’s a small concentrated blob or if it has spread out across a larger area.
Understanding the scale of the problem will help you choose the most effective approach for cleaning and ensure you’re prepared for the task ahead. So, grab a flashlight if needed, examine the situation closely, and move on to restoring your stove top to its former glory.
Safety First:
When dealing with melted plastic on your stovetop, prioritizing safety is paramount. Before you begin the cleaning process:
- Take a moment to ensure your well-being and minimize any potential risks.
- Start by turning off the stove and allowing it to cool down completely. This will help prevent any accidental burns while you’re working on removing the melted plastic.
- Remember, a cool stove top is a safer stove top.
Additionally, it’s a good idea to protect your hands by wearing heat-resistant gloves or using a pair of tongs when handling any heated surfaces. This will provide an extra layer of protection and minimize the chances of burns or injuries.
By taking these safety precautions, you can confidently proceed with the task, knowing you’ve prioritized your well-being. So, let’s continue with the next steps to conquer that melted plastic and restore your stove top’s pristine condition. Safety first, always!
The Freezing Technique:
Now, let’s dive into a clever technique that can make tackling melted plastic on your stove top a breeze – the freezing technique. This method uses cold temperatures to harden the plastic, making removing it easier.
First, grab a plastic bag filled with ice cubes or a pack of frozen vegetables from your freezer. Place the icy cold object directly on the melted plastic. As the plastic comes into contact with the extreme cold, it will gradually harden, making it less sticky and more manageable to handle.
Leave the ice or frozen object in place for a few minutes, allowing it sufficient time to work its magic. As the plastic hardens, it will become brittle, enabling you to scrape it off with ease gently.
Remember, patience is key during this process. Avoid rushing or using excessive force, as it may damage your stovetop. Take your time, and let the freezing technique work its wonders.
Once the plastic has hardened, proceed to the next step to remove the hardened residue and reveal the gleaming surface of your stovetop once again. Get ready to bid farewell to that stubborn melted plastic – you’re one step closer to a spotless stove top!
Gentle Scrubbing:
Now that the melted plastic on your stove top has been successfully hardened using the freezing technique, it’s time to move on to the next step: gentle scrubbing.
To begin, equip yourself with a soft plastic scraper or a credit card that you don’t mind getting a little messy. Hold the scraper at a slight angle and apply gentle pressure to the hardened plastic. Using smooth, controlled motions, start scraping off the plastic, working from the edges toward the center.
Be patient and avoid using abrasive materials or harsh scrubbing techniques that could damage the surface of your stovetop. The goal here is to remove the hardened plastic without causing additional harm.
If the plastic is stubborn and doesn’t come off easily, you can reapply the freezing technique briefly to make it more brittle before continuing the gentle scraping process.
As you work through the affected area, periodically wipe away any loose plastic residue with a damp cloth. This will help you maintain visibility and ensure that you’re making progress.
Continue this process until you’ve successfully removed all the hardened plastic from your stovetop. You’ll be amazed at how effective gentle scrubbing can be in restoring the pristine condition of your cooking surface.
Cleaning Solution:
Now that you’ve removed most of the melted plastic from your stovetop, it’s time to address any lingering residue and restore its impeccable shine. Enter the cleaning solution – a powerful ally against stubborn stains.
Mix warm water and mild dish soap in a bowl for an effective cleaning solution. This gentle yet effective concoction will help break down and lift any remaining traces of plastic from the surface.
Dampen a microfiber cloth or sponge in the cleaning solution, ensuring it’s not overly saturated, and gently scrub the affected area. Use circular motions and apply light pressure to avoid damaging the stovetop.
As you work through, you’ll notice the cleaning solution working its magic, gradually dissolving the plastic residue and revealing a clean surface. Remember to rinse and wring out the cloth or sponge regularly to prevent spreading the plastic residue around.
If there are stubborn stains that resist the cleaning solution, don’t worry. We’ll address those in the next step. But for now, focus on removing as much plastic residue as possible using the cleaning solution.
Once you’ve covered the entire affected area and the melted plastic is no longer visible, take a moment to appreciate your progress. Your stove top is well on its way to looking good as new.
Rinse and Dry:
After successfully removing the melted plastic and any remaining residue from your stovetop, it’s time to thoroughly rinse and dry to ensure a spotless finish.
Start by grabbing a clean cloth or sponge and dampening it with fresh water. Gently wipe the entire surface of the stovetop, removing any traces of the cleaning solution or loosened plastic particles. Be thorough but careful to keep the surface neat.
Next, grab a dry cloth and carefully wipe down the stovetop to remove any excess moisture. This step is crucial to prevent water spots or streaks from forming, leaving your stove top looking flawless.
Take a moment to inspect your handiwork. Admire your stovetop’s gleaming, clean surface, free from any melted plastic remnants. You’ve conquered the challenge with finesse!
As a final touch, following the manufacturer’s instructions, you can apply a stove top cleaner or polish to enhance the shine and provide an extra layer of protection.
Now, step back and appreciate the fruits of your labor. Your stove top is restored to its former glory, ready to assist you in your culinary endeavors again.
Remember, prevention is key to avoiding future mishaps. Consider using stove top liners or heat-resistant mats to catch spills or drips, ensuring they never come into direct contact with the surface.
Conclusion:
In conclusion, dealing with melted plastic on your stove top may initially seem daunting, but armed with the right techniques and patience, you can triumph over this sticky situation. By assessing the situation, prioritizing safety, utilizing the freezing technique, gently scrubbing, and using a cleaning solution, you can effectively remove the melted plastic and restore your stove top’s pristine condition.
Remember to rinse and dry thoroughly, and consider preventative measures to avoid future mishaps. So, the next time a cooking mishap occurs, don’t panic – you’ve got the knowledge and skills to handle it like a pro. Embrace the challenge, tackle it head-on, and let your stovetop shine brilliantly as a testament to your cleaning prowess.
